ComfyUI | 如何复刻粘土风格滤镜
如何在LooPIN上一键部署Stable Diffusion的Comfy UI,以及初步体验使用粘土风格滤镜。Comfy UI采用节点化操作,可控性更高,更容易复现和微调出图结果,熟练之后还可以定制个性化工作流。
🔥NEW🔥 如果你想先试试效果,可以先使用我们的AI粘土风�格滤镜: 👉🏻 Clay Style Demo

ComfyUI 简介
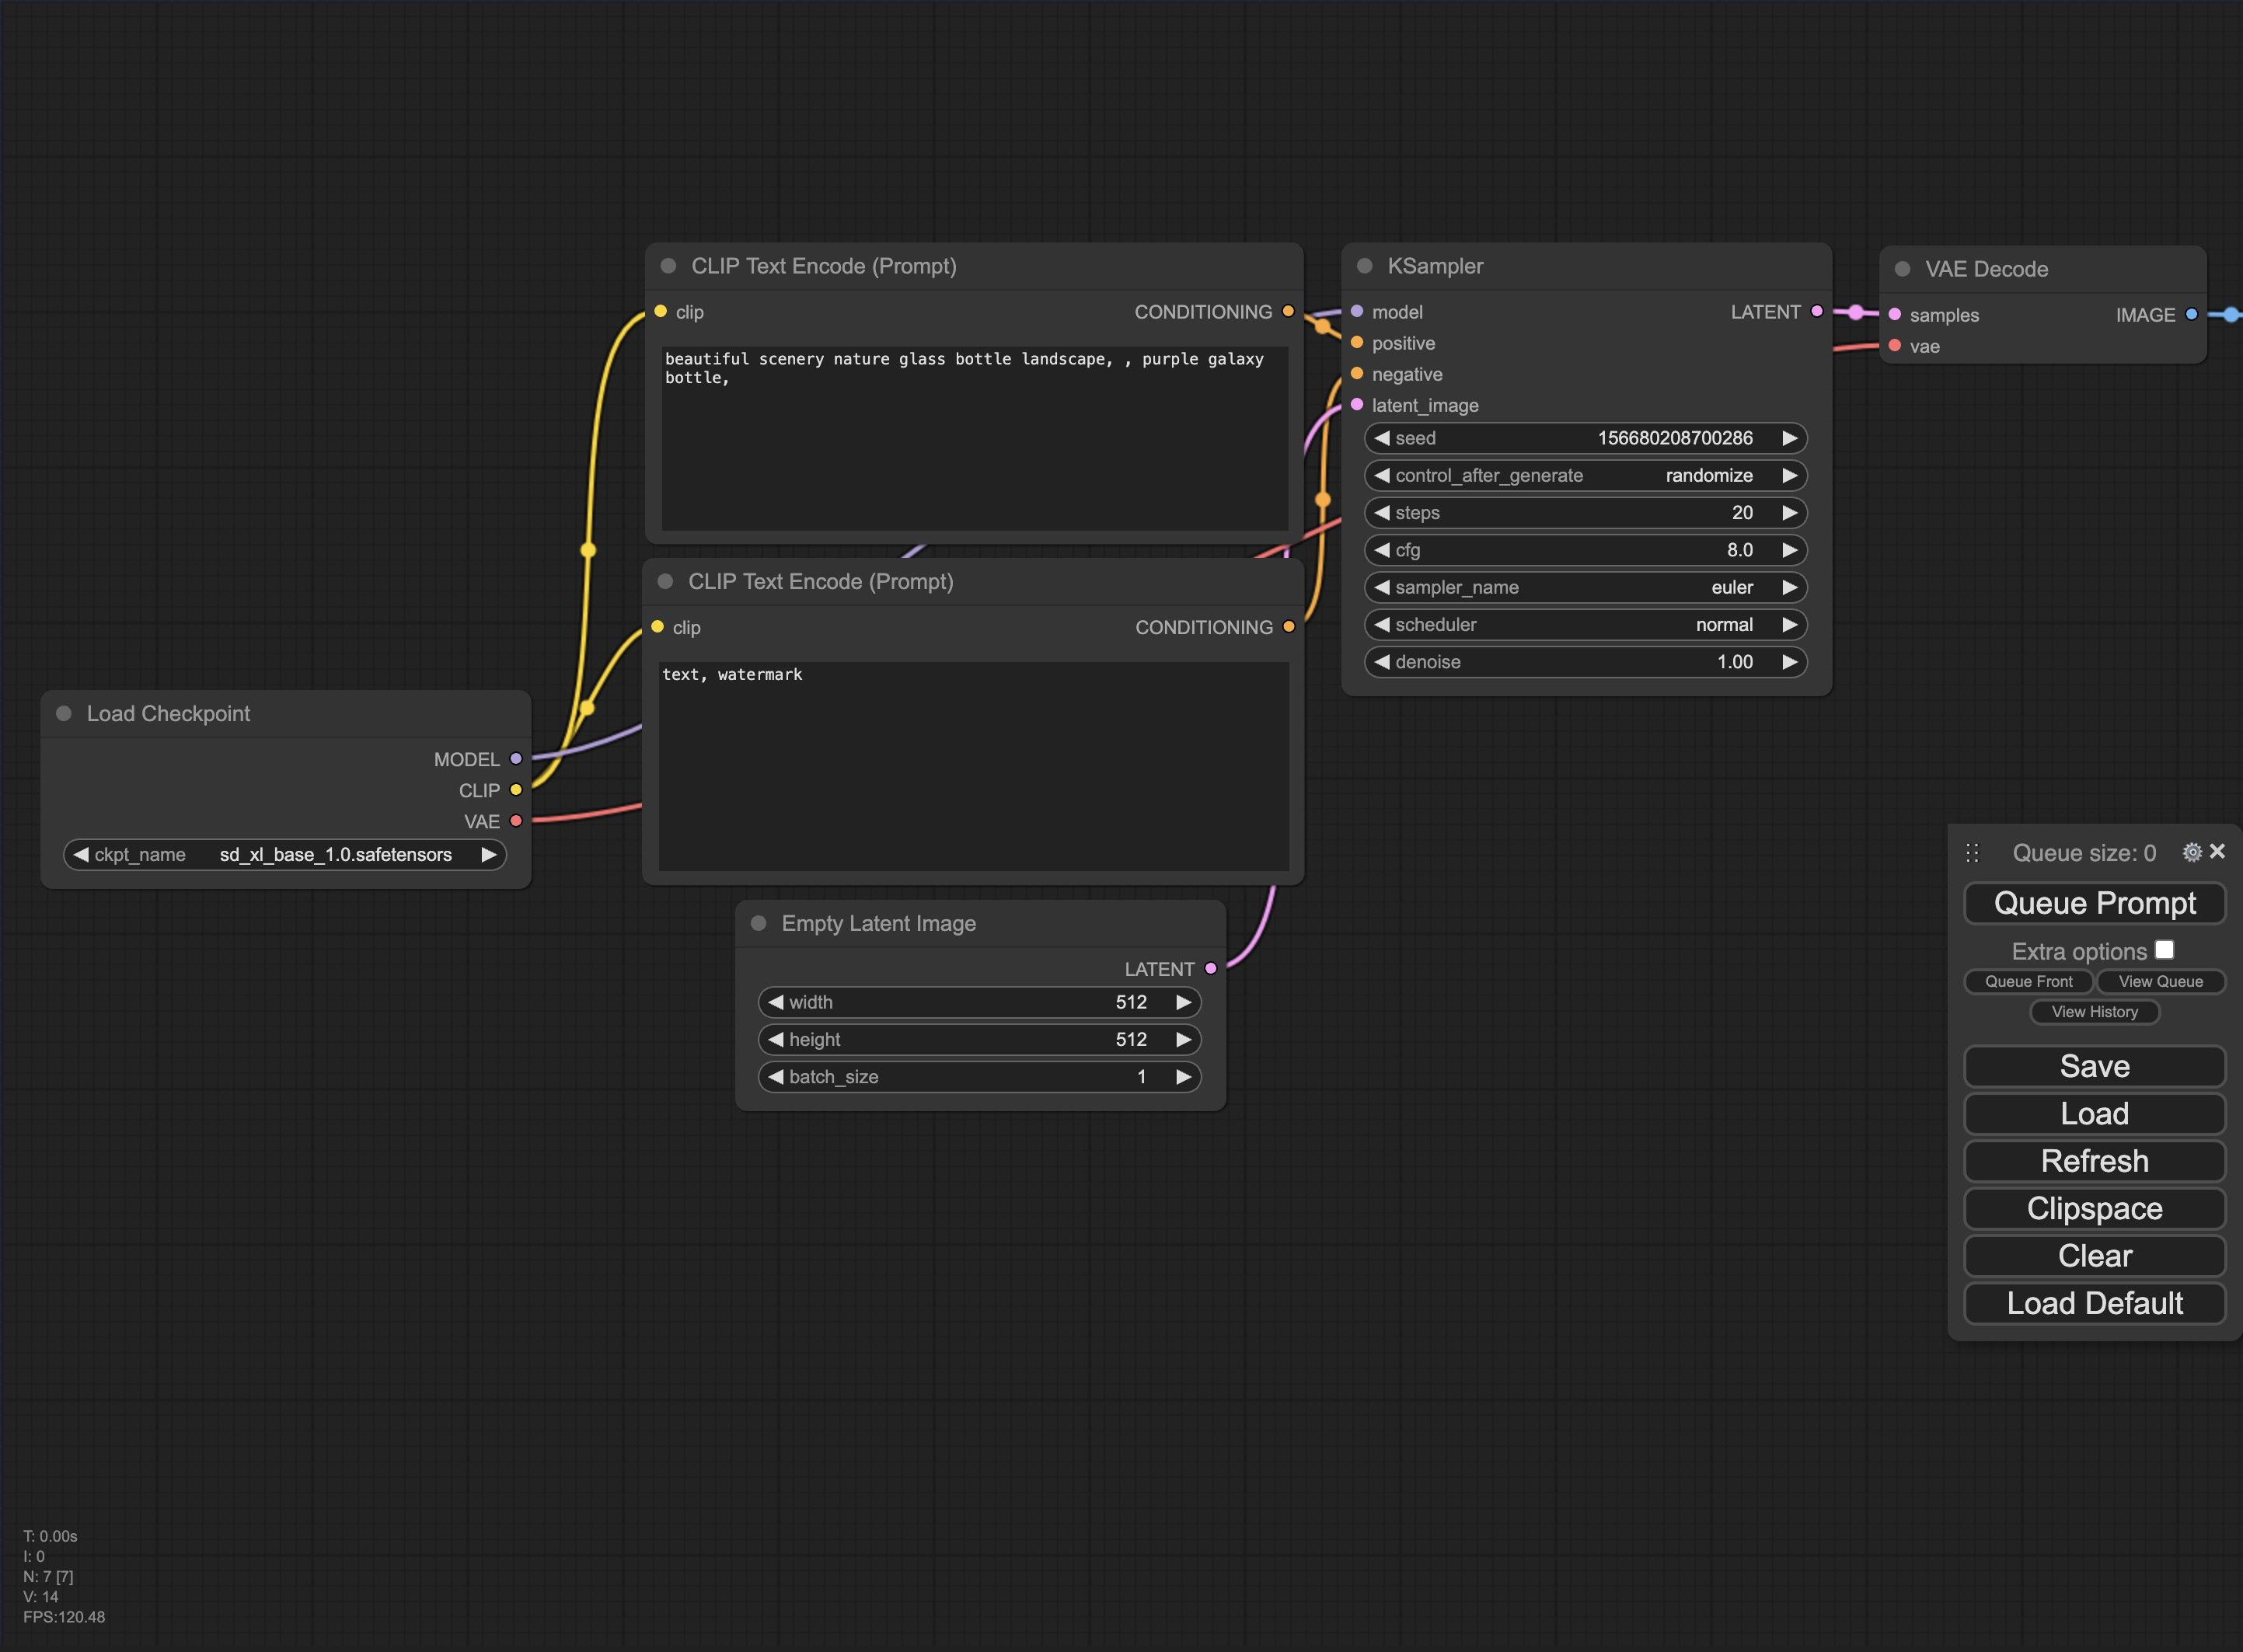
Comfy UI采用节点化操作。与其他WebUI相比,它目前对Stable Diffusion XL 1.0模型的支持更好,可以在工作流中直观看到使用不同模型(如Base模型、Refiner精炼模型)生成的效果图。节点化的操作方式带来了更高的可控性,便于复现和微调出图结果,熟练后还能定制个性化的工作流程。
ComfyUI 节点安装
配置GPU实例
请访问以下页面,获得详细的交互式指导:LooPIN流动性池
1. LooPIN流动性池:
前往LooPIN的流动性池(LooPIN Network Pool),使用$LOOPIN代币购买GPU时间。以RTX 3080 GPU为例,根据自身需求和预算,在GPU UserBenchmark 中选择合适的GPU型号。
2. 代币兑换GPU资源:
- 选择所需的$LOOPIN代币数量。
- 通过滑块选择GPU数量。
- 确认兑换量并完成交易。
3. 进入Jupyter Notebook:
交易成功后,进入Rented Servers下的Server区域,通过你的远程服务器访问Jupyter Notebook。通常,实例启动需要2-4分钟。
4. 用nvidia-smi验证GPU:
在Jupyter Notebook中,打开新的终端窗口,运行nvidia-smi命令,检查GPU是否已激活。
+-----------------------------------------------------------------------------------------+
| NVIDIA-SMI 550.54.15              Driver Version: 550.54.15      CUDA Version: 12.4     |
|-----------------------------------------+------------------------+----------------------+
| GPU  Name                 Persistence-M | Bus-Id          Disp.A | Volatile Uncorr. ECC |
| Fan  Temp   Perf          Pwr:Usage/Cap |           Memory-Usage | GPU-Util  Compute M. |
|                                         |                        |               MIG M. |
|=========================================+========================+======================|
|   0  NVIDIA GeForce RTX 3080        Off |   00000000:01:00.0 Off |                  N/A |
|  0%   39C    P8             21W /  350W |      12MiB /  12288MiB |      0%      Default |
|                                         |                        |                  N/A |
+-----------------------------------------+------------------------+----------------------+

+-----------------------------------------------------------------------------------------+
| Processes:                                                                              |
|  GPU   GI   CI        PID   Type   Process name                              GPU Memory |
|        ID   ID                                                               Usage      |
|=========================================================================================|
+-----------------------------------------------------------------------------------------+
ComfyUI 安装流程
- 安装
Comfy UIgithub包
git clone https://github.com/comfyanonymous/ComfyUI.git && cd ComfyUI
- 安装python依赖
pip install xformers!=0.0.18 -r requirements.txt --extra-index-url https://download.pytorch.org/whl/cu121 --extra-index-url https://download.pytorch.org/whl/cu118 --extra-index-url https://download.pytorch.org/whl/cu117
- 安装
ComfyUI-manager
ComfyUI-Manager 是一个用来提升 Comfy UI 用户体验的扩展。它带有一套管理功能,可以用来安装、移除、禁用以及启用 Comfy UI 的各类定制节点。
cd /workspace/ComfyUI/custom_nodes
git clone https://github.com/ltdrdata/ComfyUI-Manager.git
- 下载Cloudflare tunnel
wget https://github.com/cloudflare/cloudflared/releases/latest/download/cloudflared-linux-amd64.deb
dpkg -i cloudflared-linux-amd64.deb
- 在
Comfy UI下新建Jupyter Notebook,使用Cloudflare暴露端口
import subprocess
import threading
import time
import socket
import urllib.request

def iframe_thread(port):
  while True:
      time.sleep(0.5)
      sock = socket.socket(socket.AF_INET, socket.SOCK_STREAM)
      result = sock.connect_ex(('127.0.0.1', port))
      if result == 0:
        break
      sock.close()
  print("\nComfyUI finished loading, trying to launch cloudflared (if it gets stuck here cloudflared is having issues)\n")

  p = subprocess.Popen(["cloudflared", "tunnel", "--url", "http://127.0.0.1:{}".format(port)], stdout=subprocess.PIPE, stderr=subprocess.PIPE)
  for line in p.stderr:
    l = line.decode()
    if "trycloudflare.com " in l:
      print("This is the URL to access ComfyUI:", l[l.find("http"):], end='')
    #print(l, end='')


threading.Thread(target=iframe_thread, daemon=True, args=(8188,)).start()

!python main.py --dont-print-server
等待Cloudflare输出内网穿透的连接
xformers version: 0.0.26.post1+cu118
Set vram state to: NORMAL_VRAM
Device: cuda:0 NVIDIA GeForce RTX 3080 : cudaMallocAsync
VAE dtype: torch.bfloat16
Using pytorch cross attention
****** User settings have been changed to be stored on the server instead of browser storage. ******
****** For multi-user setups add the --multi-user CLI argument to enable multiple user profiles. ******

Import times for custom nodes:
   0.0 seconds: /workspace/ComfyUI/custom_nodes/websocket_image_save.py


ComfyUI finished loading, trying to launch cloudflared (if it gets stuck here cloudflared is having issues)

This is the URL to access ComfyUI: https://inside-isa-myrtle-guardian.trycloudflare.com
点击这个链接即可进入ComfyUI https://inside-isa-myrtle-guardian.trycloudflare.com,如果加载不出来,一般需要等待1-2min
粘土风格工作流安装
- 加载粘土风格工作流
我们采用XIONGMU的开源的Comfy UI工作流 (https://openart.ai/workflows/xiongmu/image-to-clay-style/KRjSiOFyPSHO5QCQ4raV)
点击下载后,在Comfy UI选择Load加载
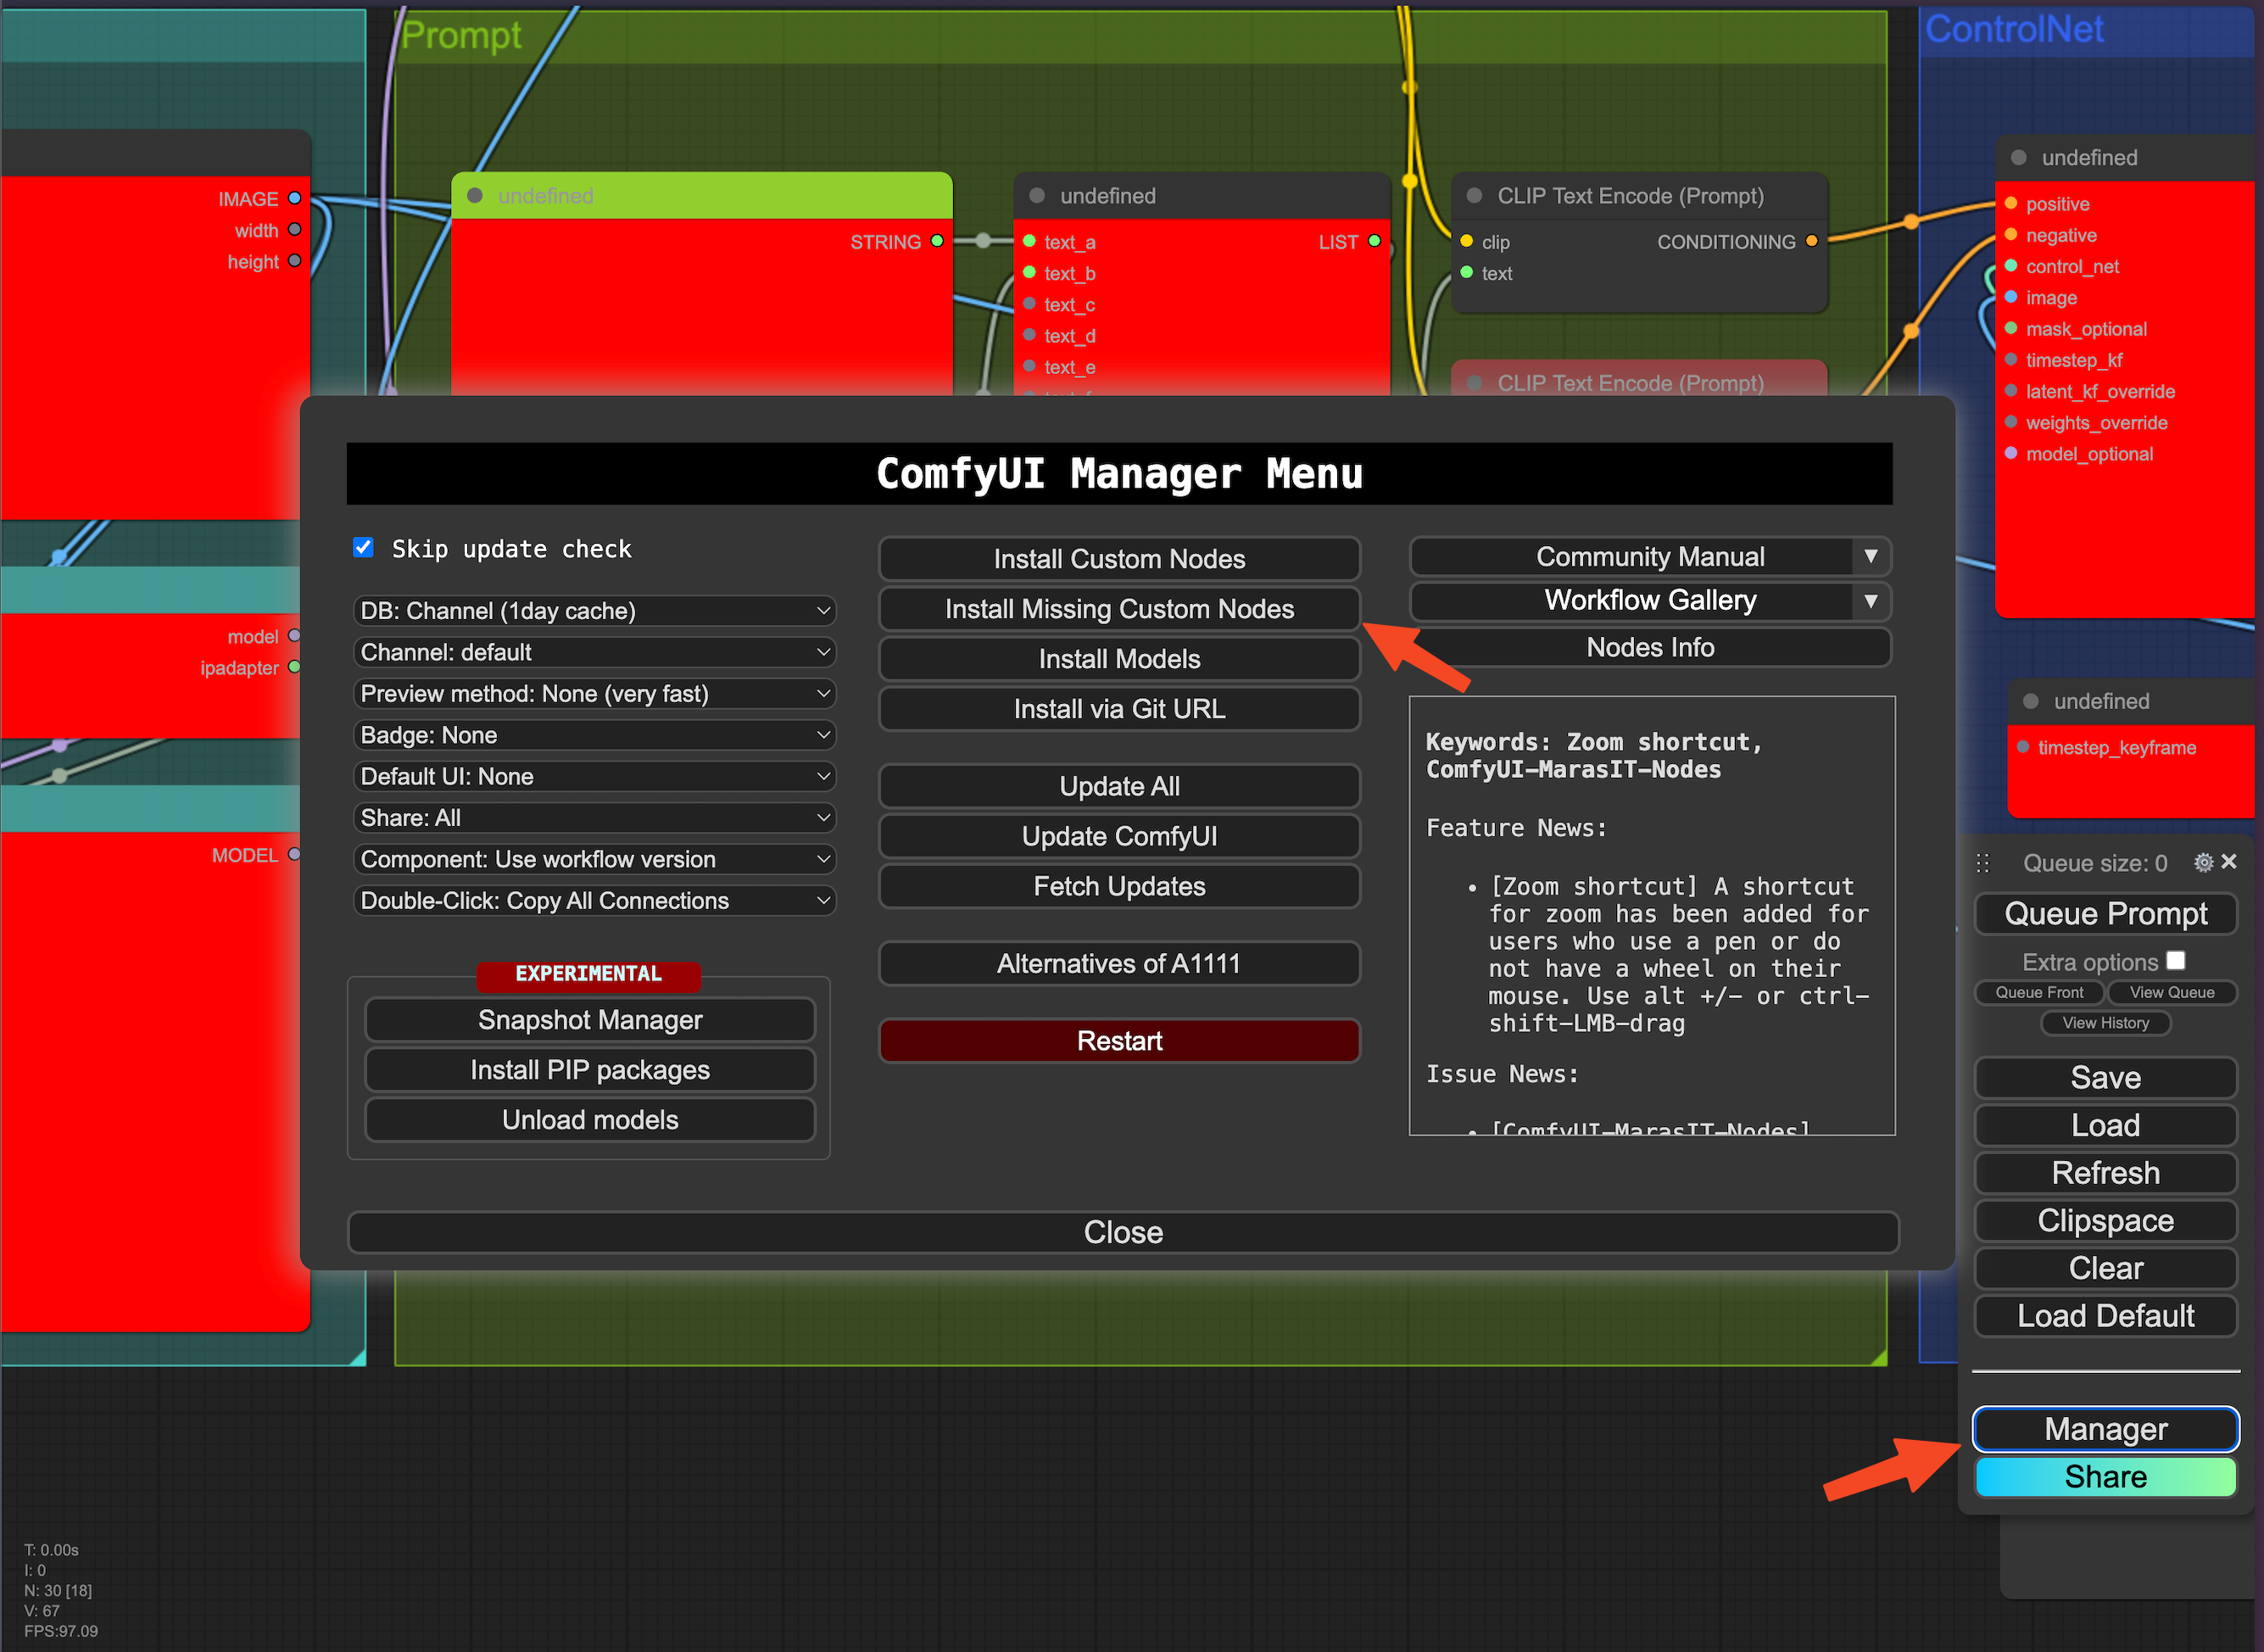
此时因为很多节点我们还没安装,所以报错,此时打开右下角的Manager,点击Install Missing Custom Nodes,然后一个个点击Install即可全部安装(此教程中共有11个custom node需要安装),安装完成后点击restart可重启Comfy UI
- 下载
Checkpoint基础模型
我们在这使用https://huggingface.co/RunDiffusion/Juggernaut-XL-v9/resolve/main/Juggernaut-XL_v9_RunDiffusionPhoto_v2.safetensors?download=true
中国用户请将
https://huggingface.co替换成https://hf-mirror.com/
wget https://huggingface.co/RunDiffusion/Juggernaut-XL-v9/resolve/main/Juggernaut-XL_v9_RunDiffusionPhoto_v2.safetensors -O /workspace/ComfyUI/models/checkpoints/Juggernaut-XL_v9_RunDiffusionPhoto_v2.safetensors
- 下载
Lora模型
LoRA是一种fine tune扩散模型的训练技术。通过对标准的checkpoint模型做微小的修改,可以比checkpoint模型小10到100倍。采用不同的Lora可以将基础模型局部增强,使其生成风格化的图片。
我们这里需要两个Lora
- CLAYMATE - Claymation Style for SDXL
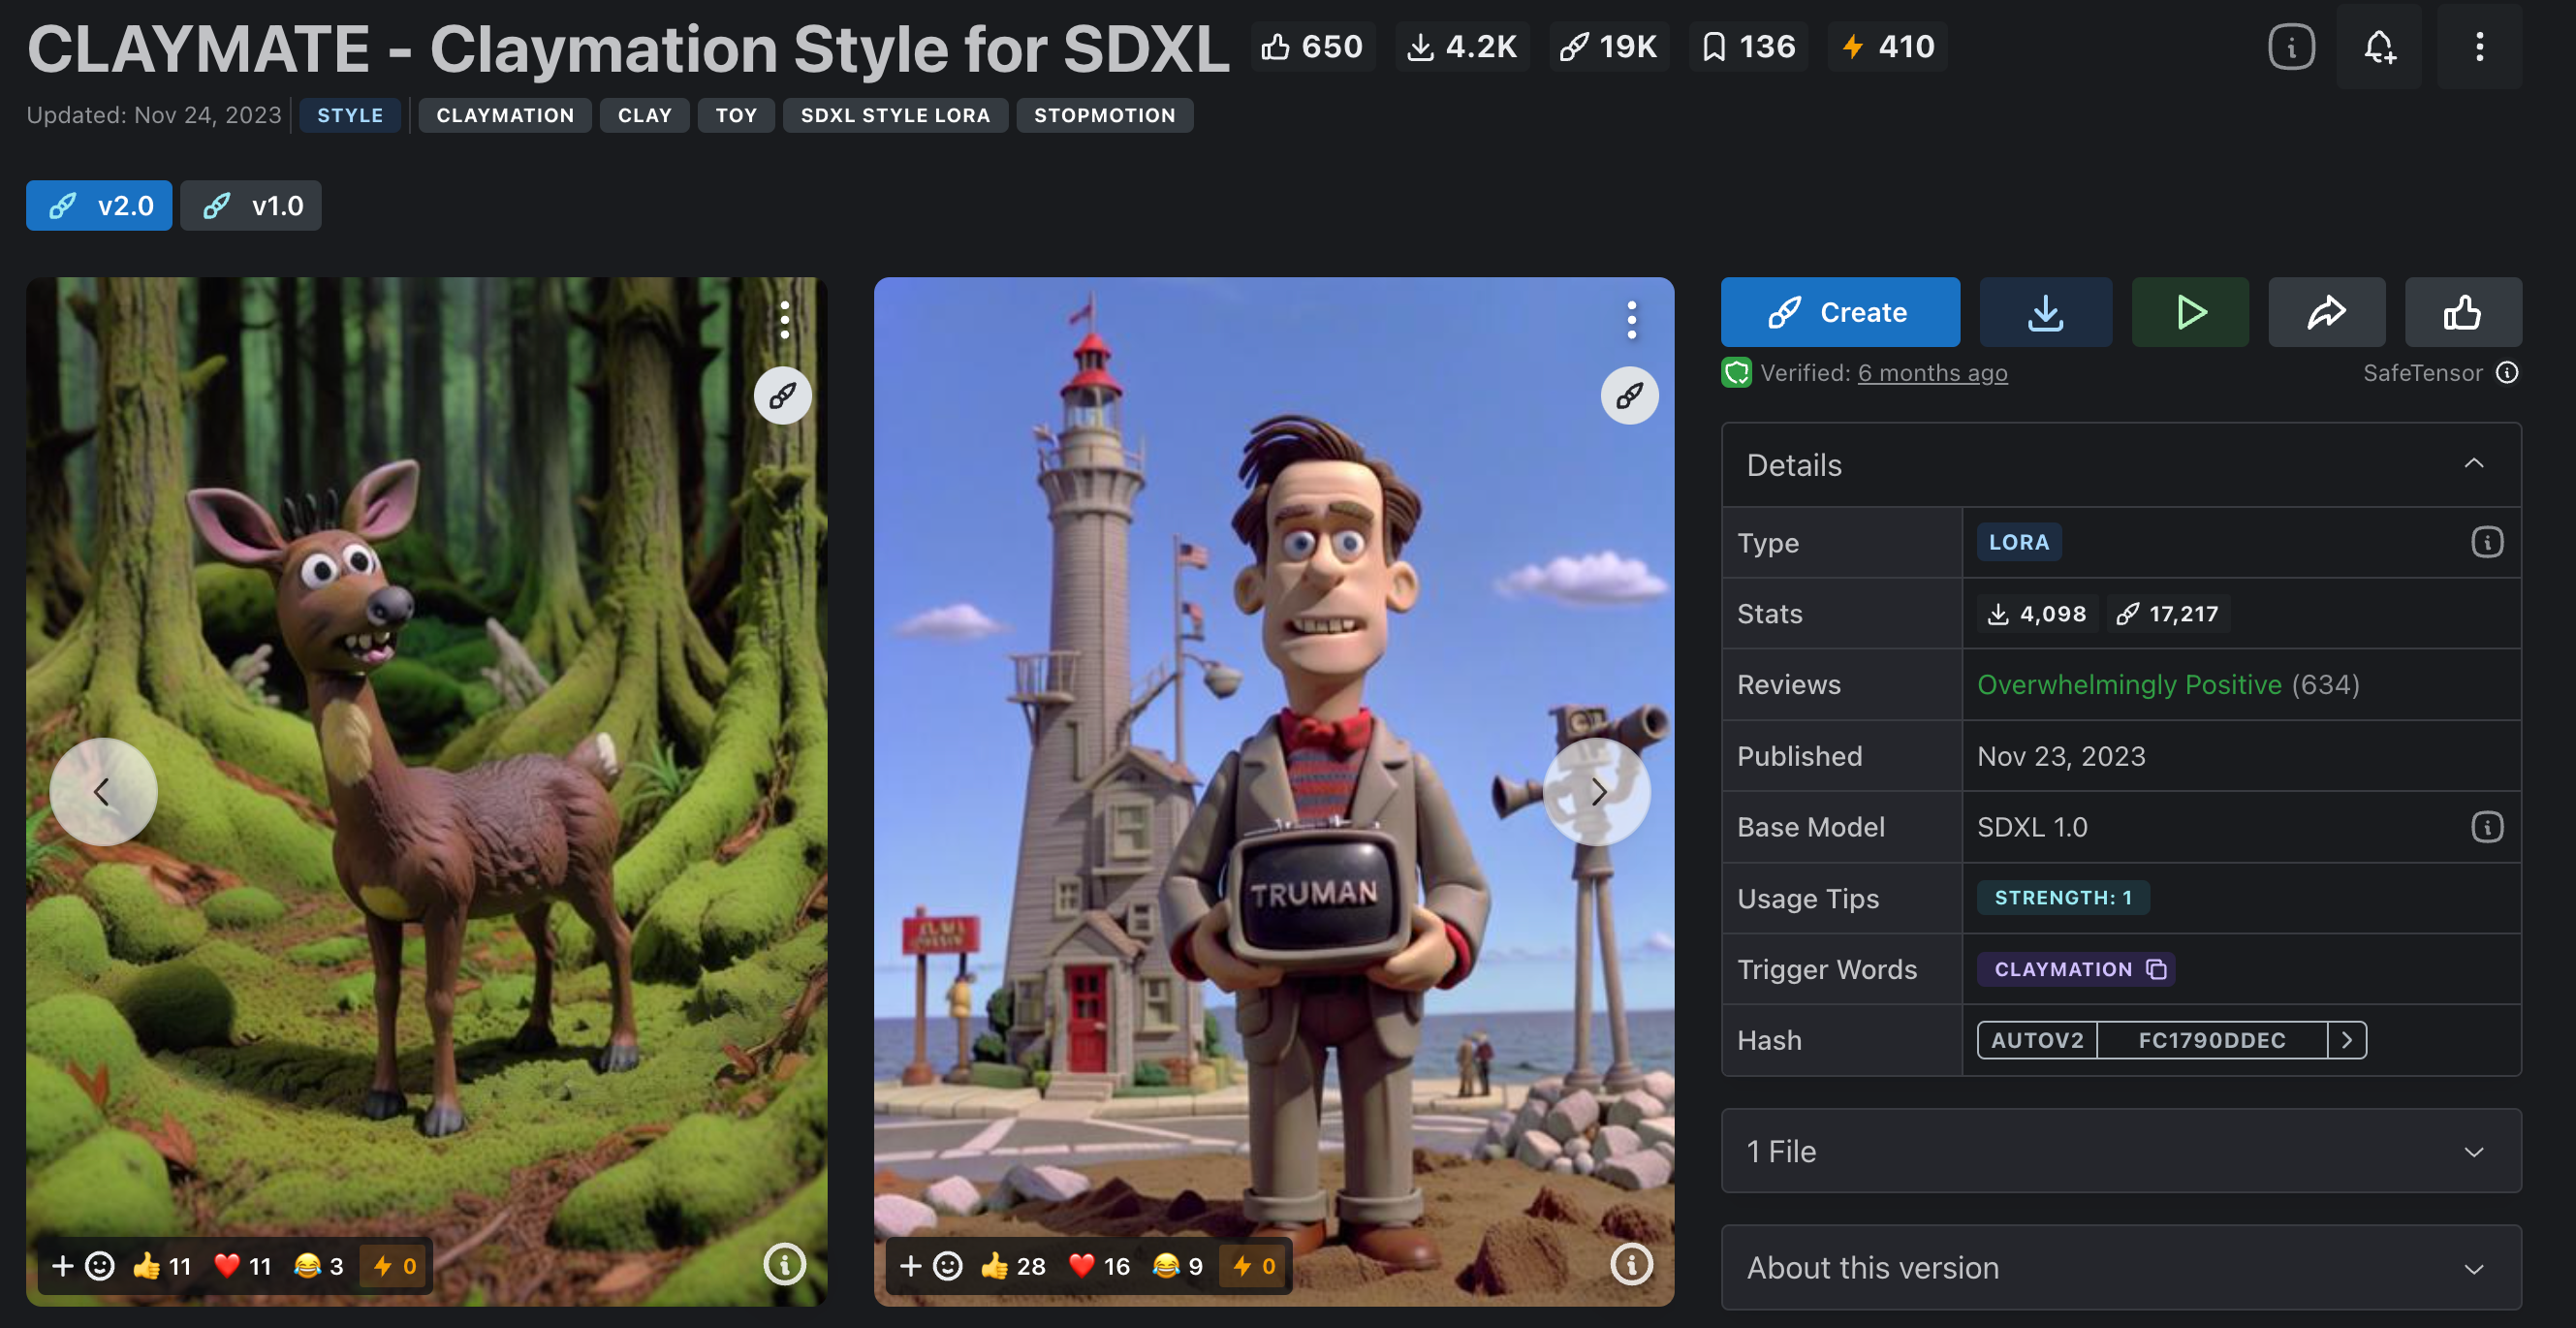
https://civitai.com/models/208168/claymate-claymation-style-for-sdxl
- Doctor Diffusion's Claymation Style LoRA
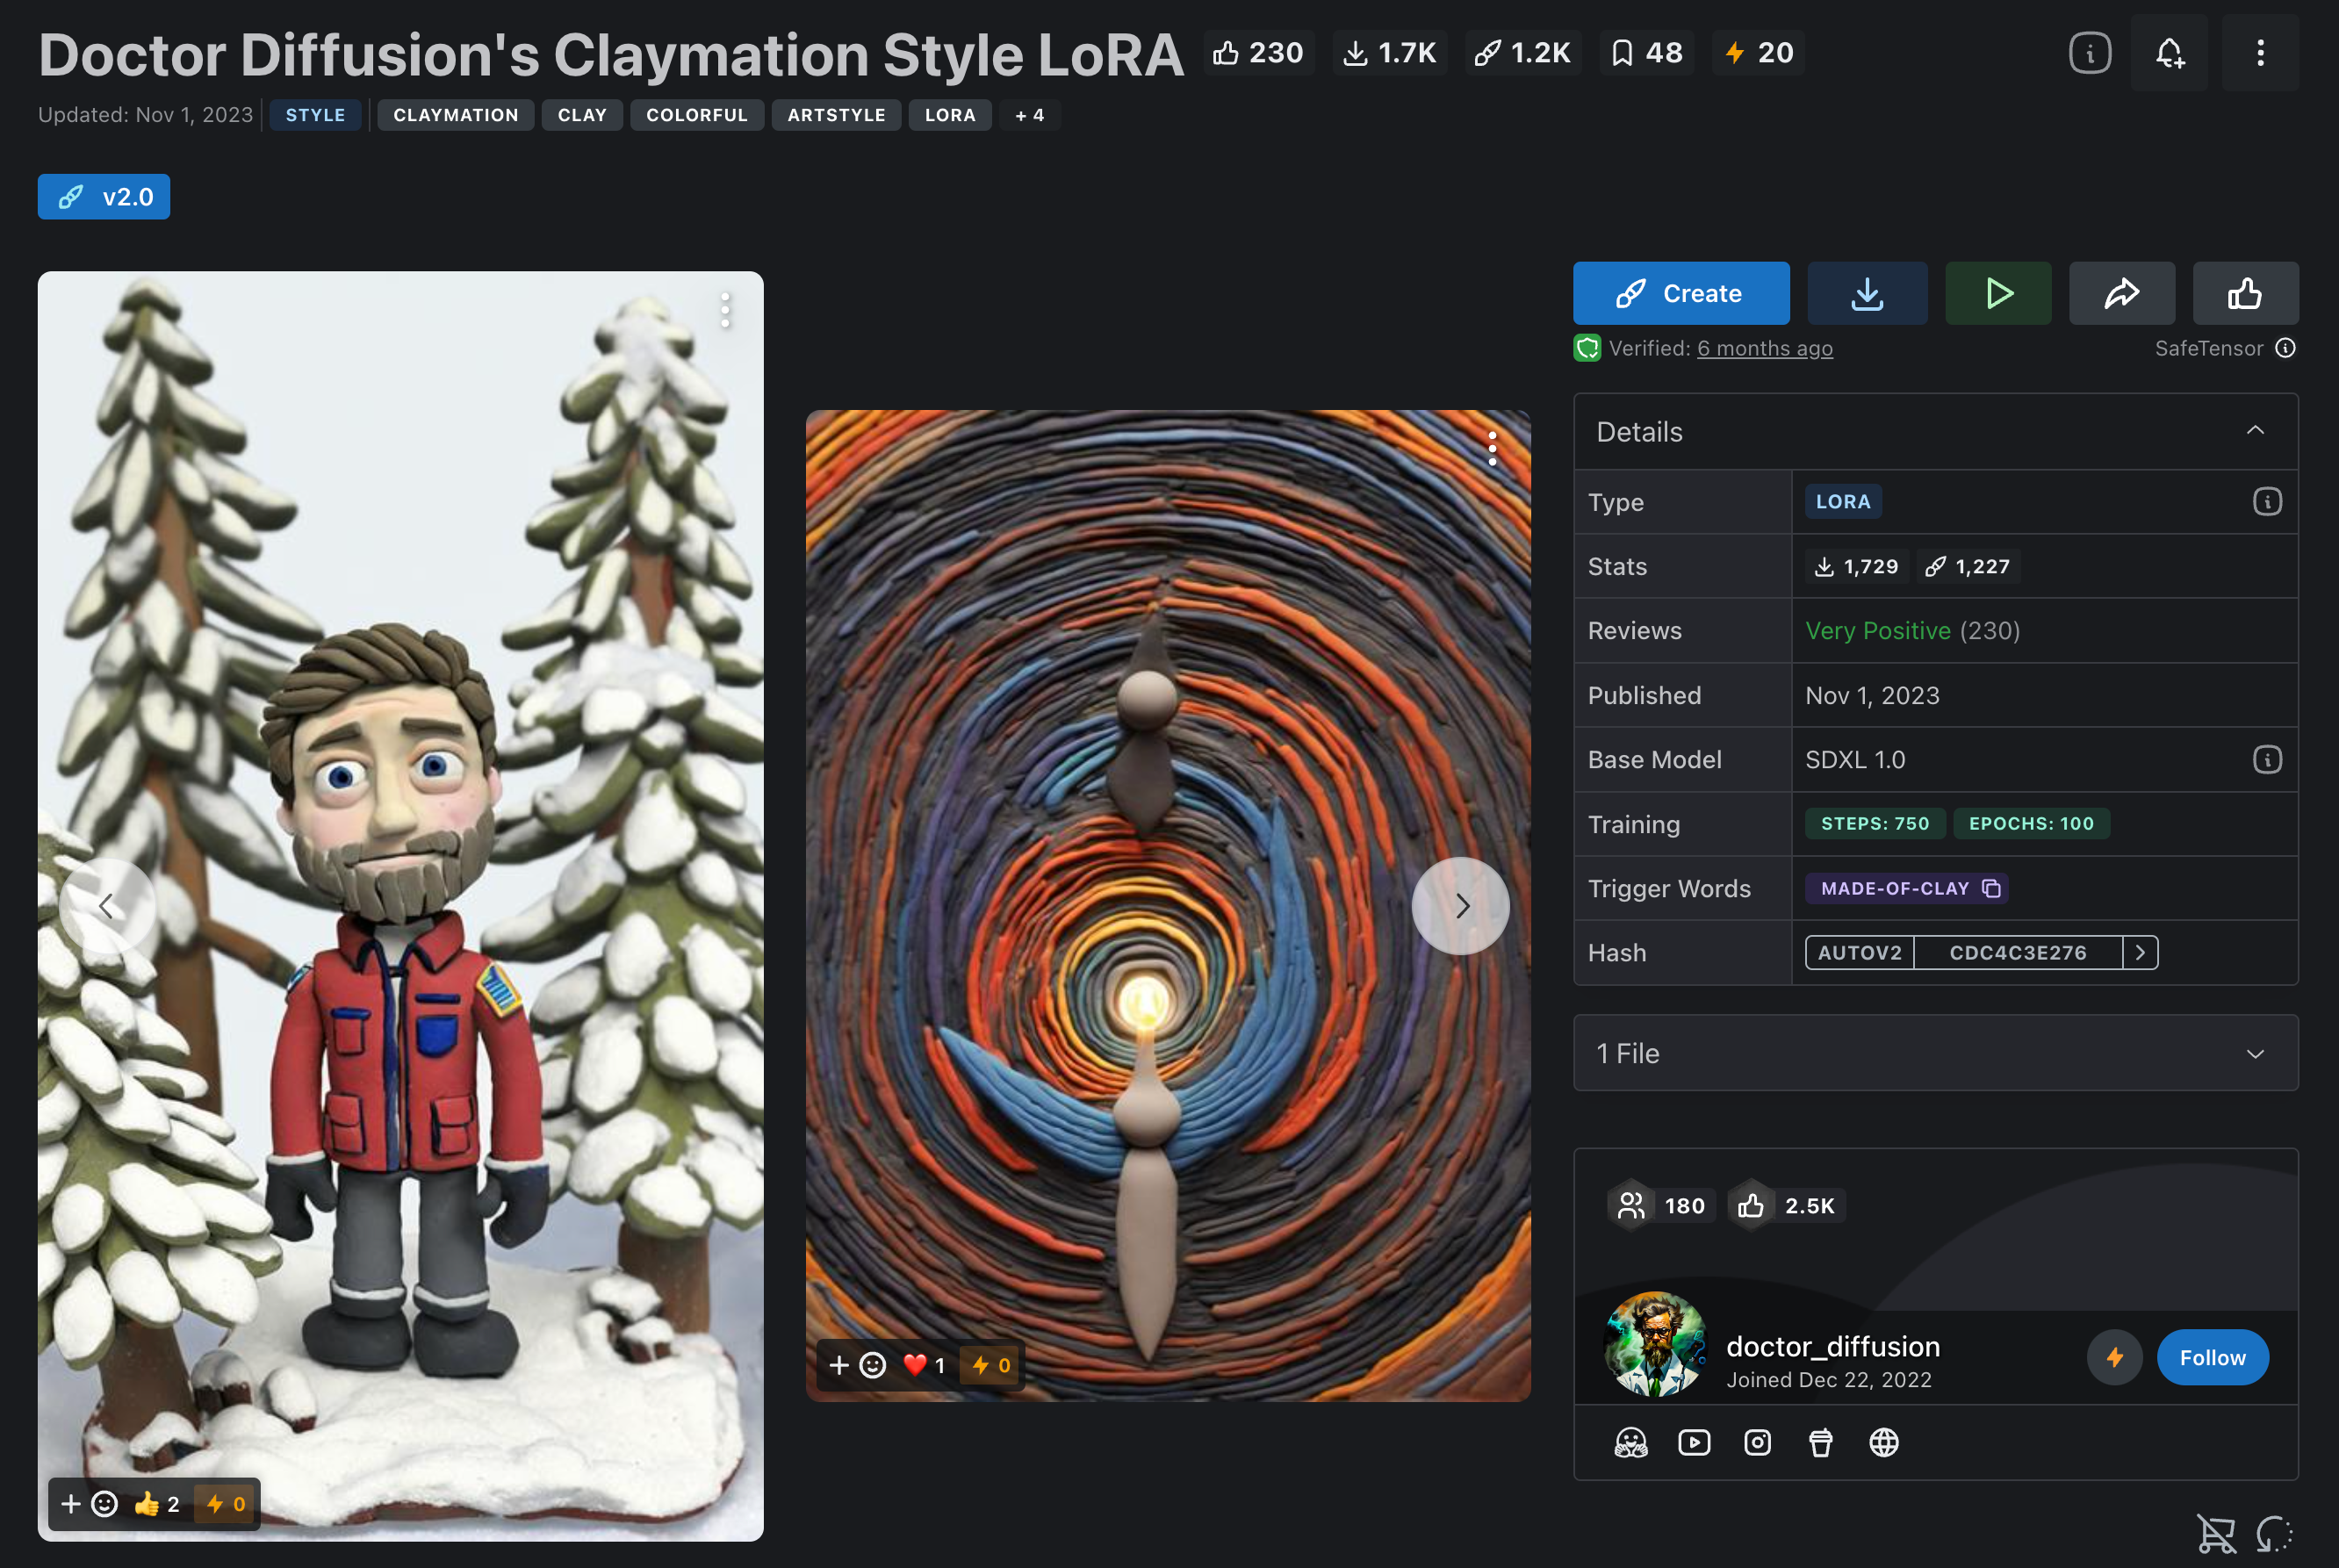
https://civitai.com/models/181962/doctor-diffusions-claymation-style-lora
采用如下命令一键下载(我们在LooPIN网络提供免费镜像加速)
wget -c https://files.loopin.network/docs/tutorials/comfyui/DD-made-of-clay-XL-v2.safetensors -O /workspace/ComfyUI/models/loras/DD-made-of-clay-XL-v2.safetensors
wget -c https://files.loopin.network/docs/tutorials/comfyui/CLAYMATE_V2.03_.safetensors -O /workspace/ComfyUI/models/loras/CLAYMATE_V2.03_.safetensors
- 下载Controlnet模型
ControlNet的作用是通过添加额外控制条件,来引导Stable Diffusion 按照创作者的创作思路生成图像,从而提升AI 图像生成的可控性和精度。
中国用户请将
https://huggingface.co替换成https://hf-mirror.com/
wget https://huggingface.co/stabilityai/control-lora/resolve/main/control-LoRAs-rank256/control-lora-canny-rank256.safetensors -O /workspace/ComfyUI/models/controlnet/sai_xl_canny_256lora.safetensors
- 下载IPAdapter模型
IPAdapter不用训练lora,一张图就能实现风格迁移,还支持多图多特征提取,同时强大的拓展能力还可接入动态prompt矩阵、controlnet等等,这就是IP-Adapter,一种全新的“垫图”方式。
中国用户请将
https://huggingface.co替换成https://hf-mirror.com/
mkdir /workspace/ComfyUI/models/ipadapter
wget https://huggingface.co/h94/IP-Adapter/resolve/main/sdxl_models/ip-adapter_sdxl_vit-h.safetensors -O /workspace/ComfyUI/models/ipadapter/ip-adapter_sdxl_vit-h.safetensors
wget https://huggingface.co/h94/IP-Adapter/resolve/main/sdxl_models/ip-adapter-plus_sdxl_vit-h.safetensors -O /workspace/ComfyUI/models/ipadapter/ip-adapter-plus_sdxl_vit-h.safetensors
wget https://huggingface.co/h94/IP-Adapter/resolve/main/sdxl_models/ip-adapter-plus-face_sdxl_vit-h.safetensors -O /workspace/ComfyUI/models/ipadapter/ip-adapter-plus-face_sdxl_vit-h.safetensors
wget https://huggingface.co/h94/IP-Adapter/resolve/main/sdxl_models/ip-adapter_sdxl.safetensors -O /workspace/ComfyUI/models/ipadapter/ip-adapter_sdxl.safetensors
- 下载ClipVision模型
中国用户请将
https://huggingface.co替换成https://hf-mirror.com/
wget https://huggingface.co/h94/IP-Adapter/resolve/main/models/image_encoder/model.safetensors -O /workspace/ComfyUI/models/clip_vision/CLIP-ViT-H-14-laion2B-s32B-b79K.safetensors && wget https://huggingface.co/h94/IP-Adapter/resolve/main/sdxl_models/image_encoder/model.safetensors -O /workspace/ComfyUI/models/clip_vision/CLIP-ViT-bigG-14-laion2B-39B-b160k.safetensors
安装完毕后,点击Manager - Restart 重启 ComfyUI
使用ComfyUI生成测试图片
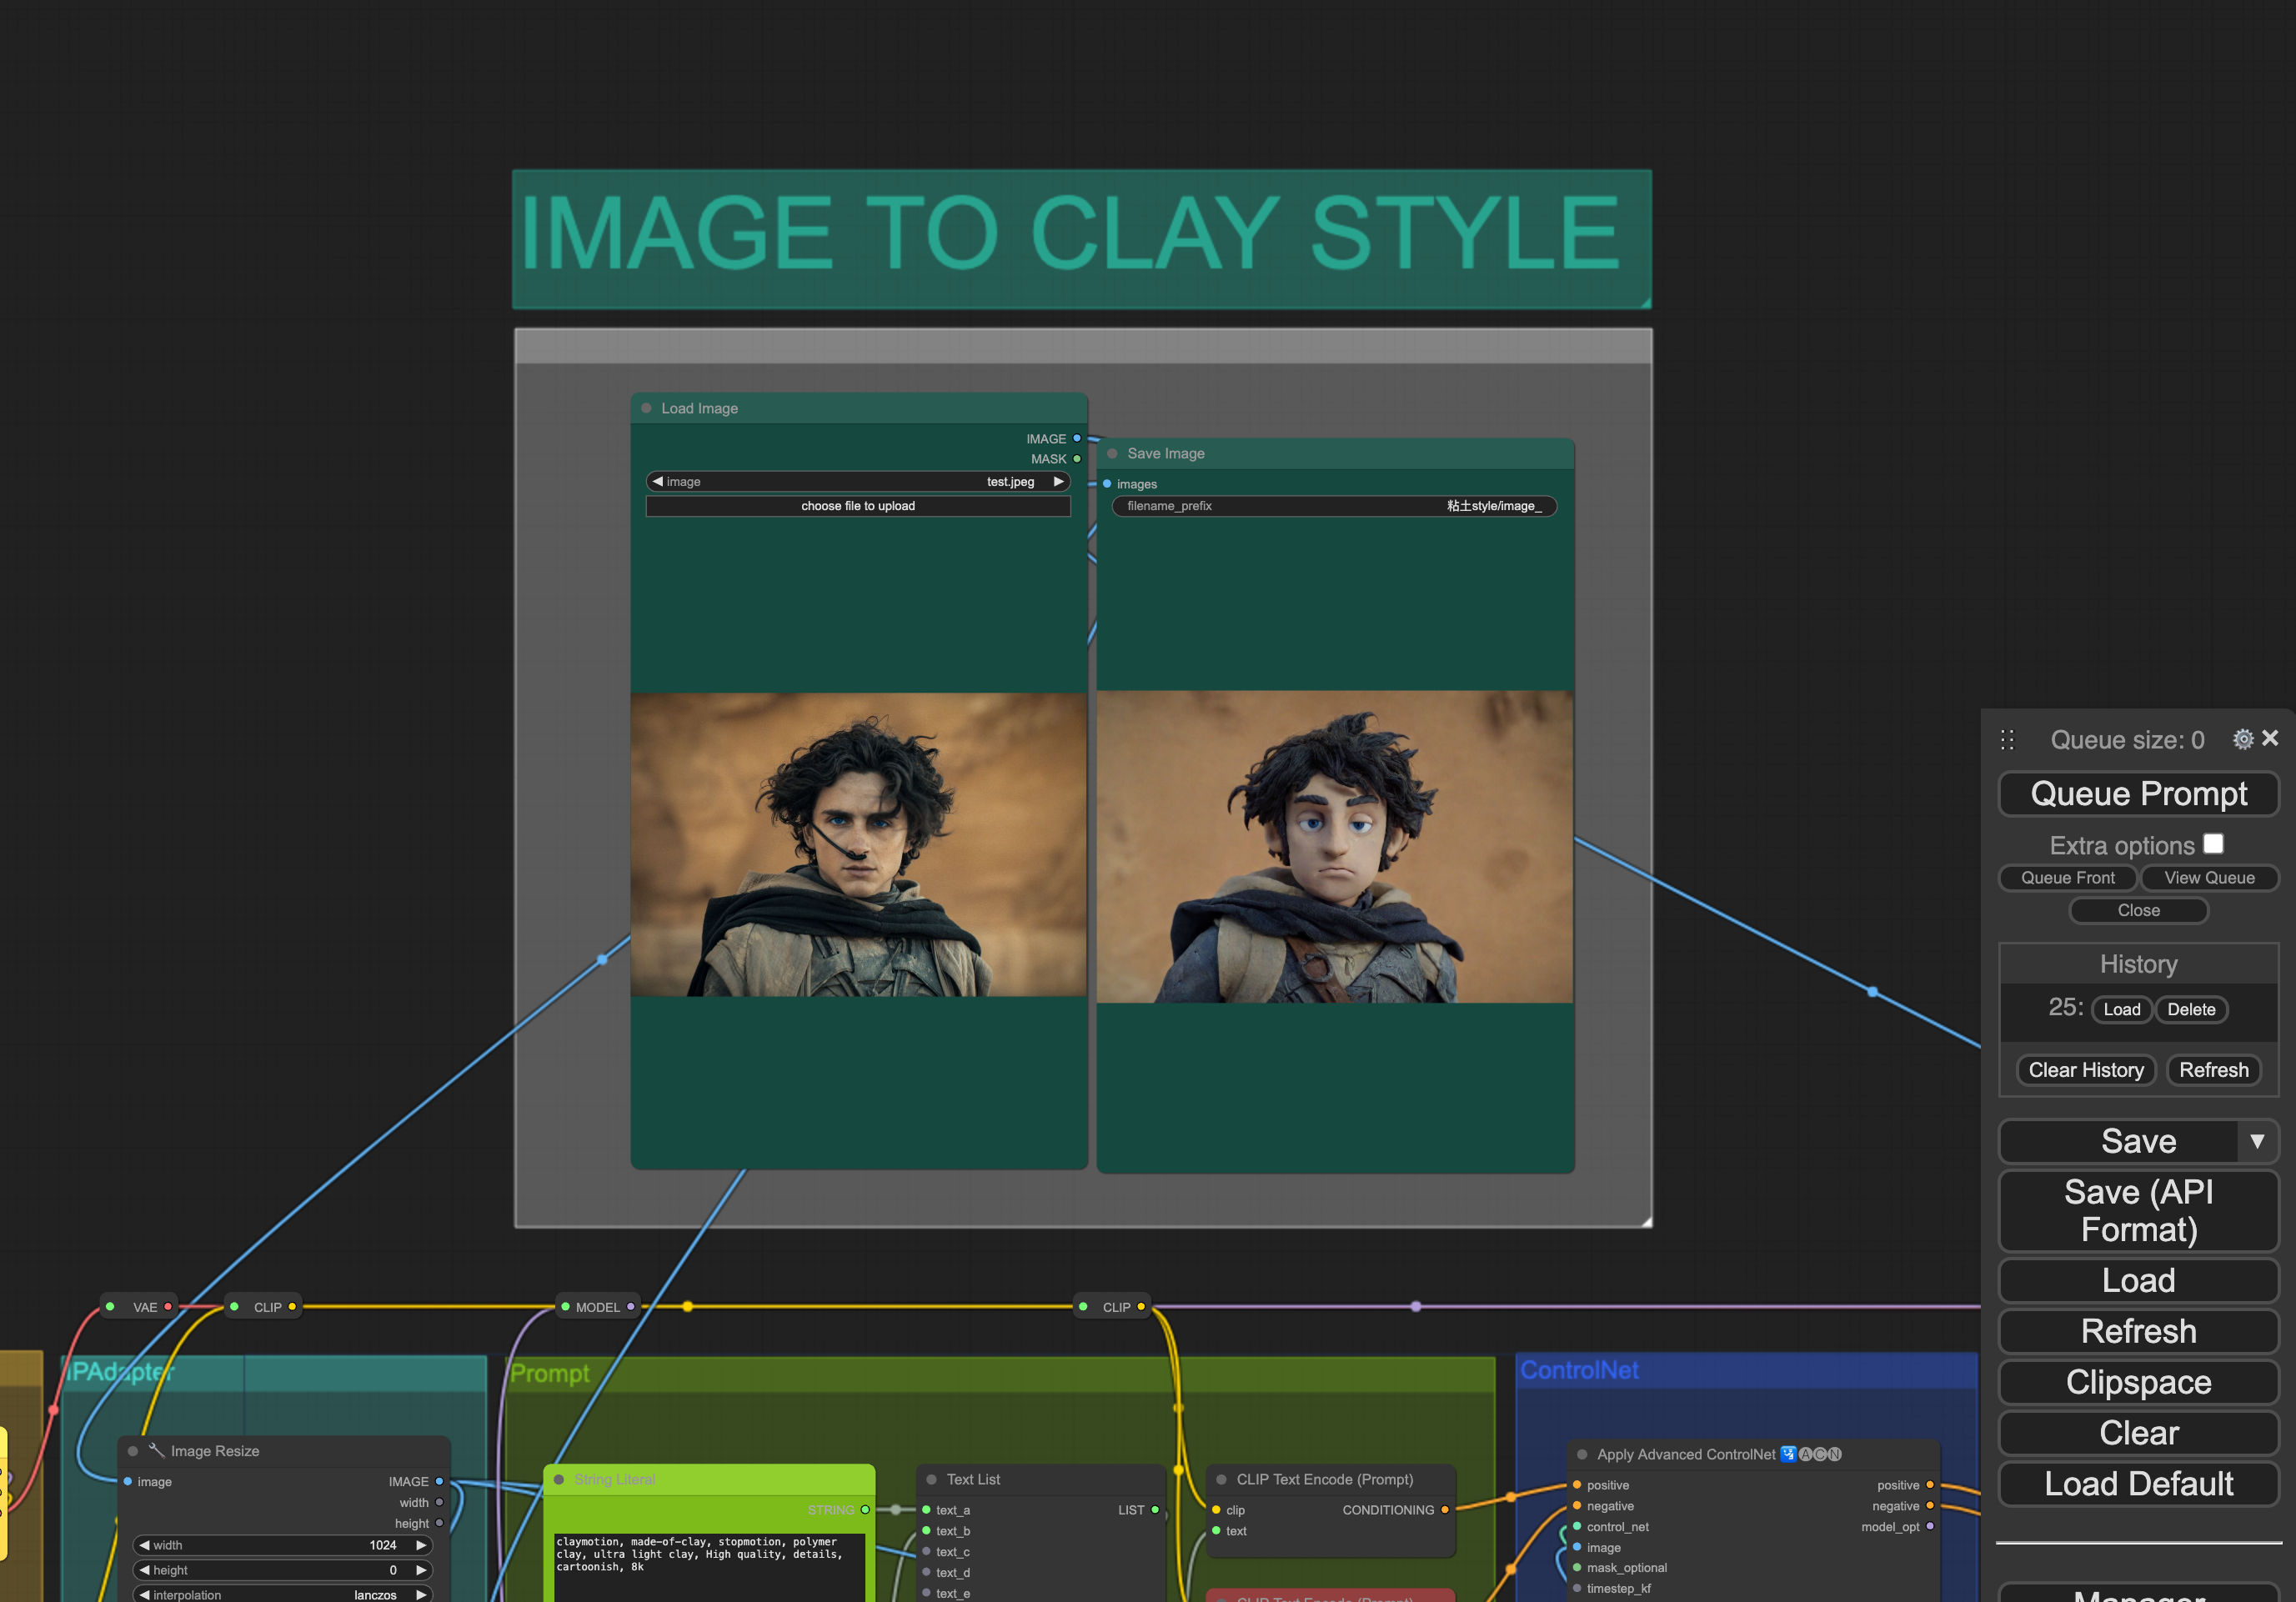
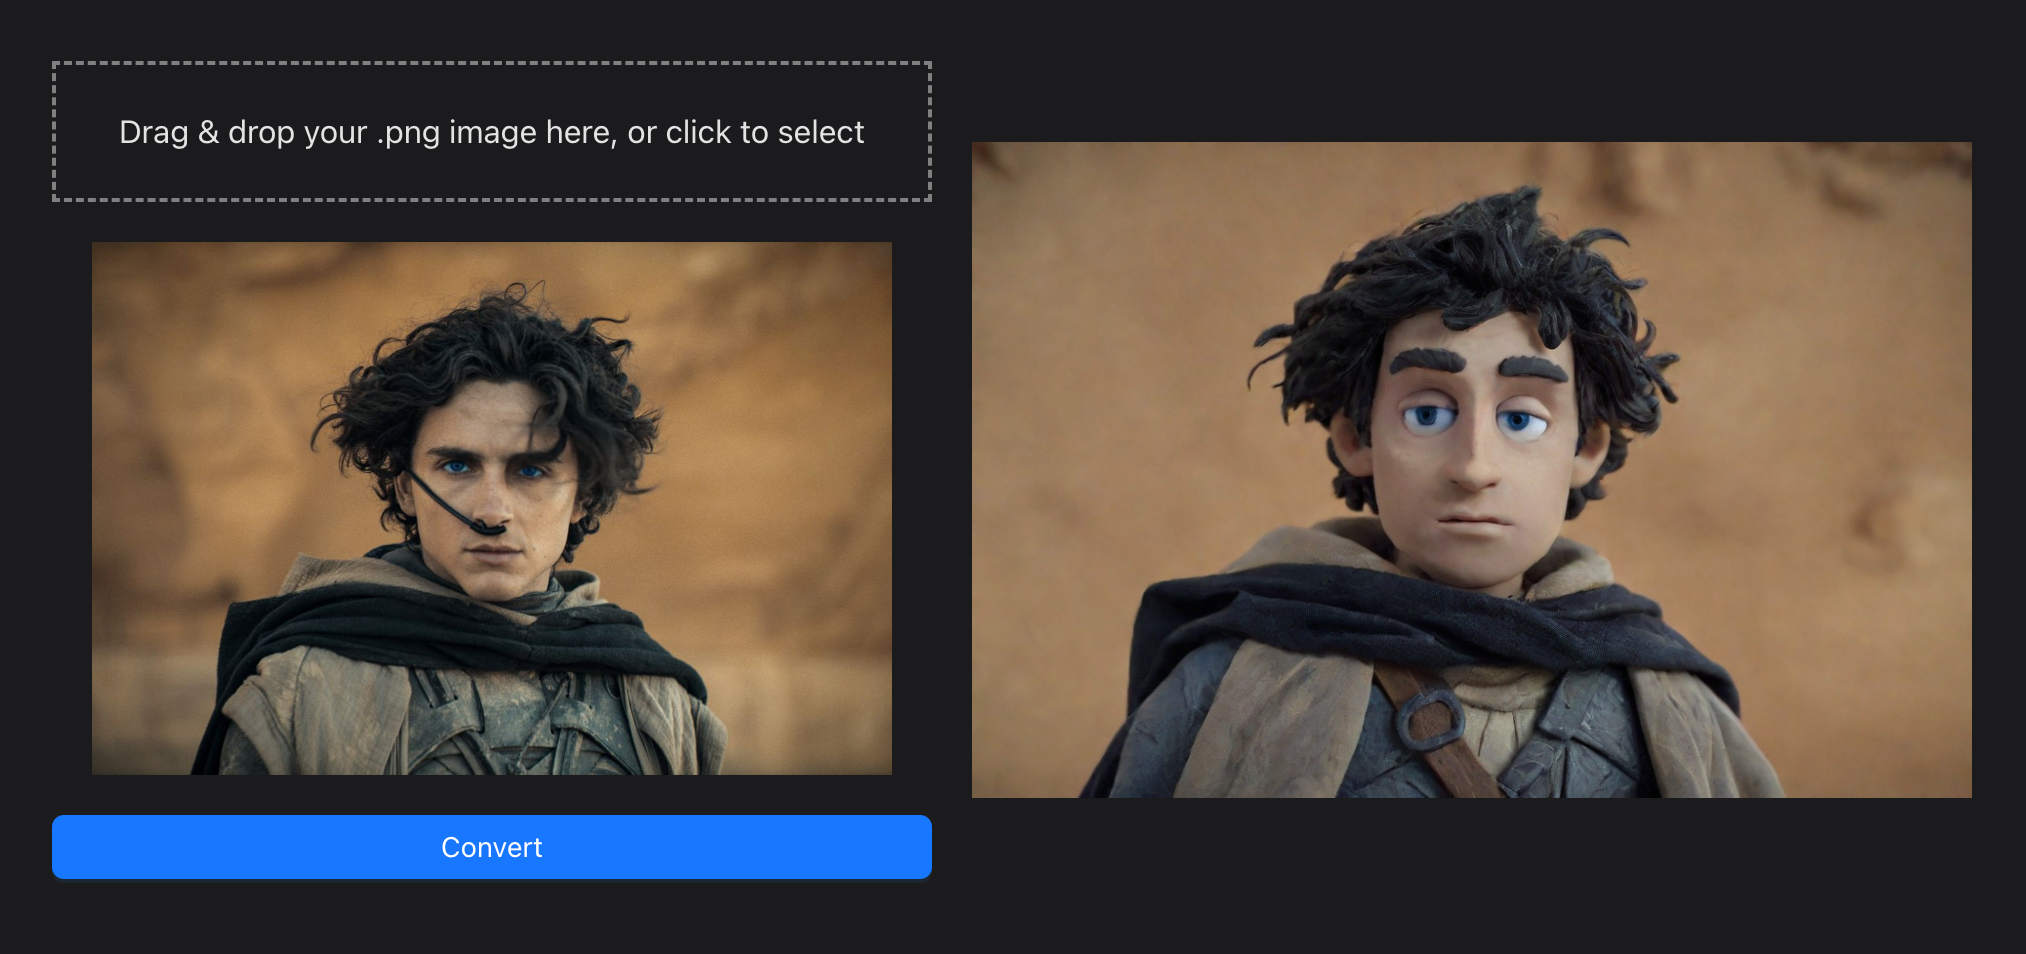
在ComfyUI界面,可以看到上方屎粘土风格的图片展示框,为了测试部署是否成功,我们可以:
- 在Load Image处点击
choose file to upload上传原始图片 - 点击右侧的
Queue Prompt按钮开始生成图片 - 等待5-10秒左右,生成的图片会显示在界面上
如果图片成功生成,则说明ComfyUI已经可以正常使用了。
总结与展望
本期教程介绍了如何在LooPIN去中心化GPU云服务器上部署Stable Diffusion的ComfyUI,并初步体验了加载使用粘土风格模型的效果。在后续的教程中,我们将深入探讨ComfyUI的更多玩法和应用。
本文更新于 2024年5月9日